
Next we start to go through the Engineering Design Plan.
Step one is stating the problem. The students have to describe the problem that we want to solve.

Step two is the design criteria. What must the product be able to do? What limits do we have to wok within? (materials, size, time, etc) You can have some fun with this. You can give the students a budget and "charge" them for the materials. Budget = $1,000; 1 inch of tape = $50; 1 paper plate= $100

Step three is the brainstorming area. What ideas do we have about ways to get the product to meet the Design Criteria?
 |
| This student had an unfair advantage with this project as she was in my 5/6 split last year and had already done the project once.....no one else's brainstorming ideas were as specific as these. |


Here are some pictures of the early stages of design.
 |


Step five is testing, evaluating, and redesigning. The students must test their design. What was tried? What was the result? Next the student evaluate their design. Does it meet one or more of the design criteria? Lastly, they need to redesign. What changes could we make for a design that meets more of the criteria?

Step six is the design solution for the problem.

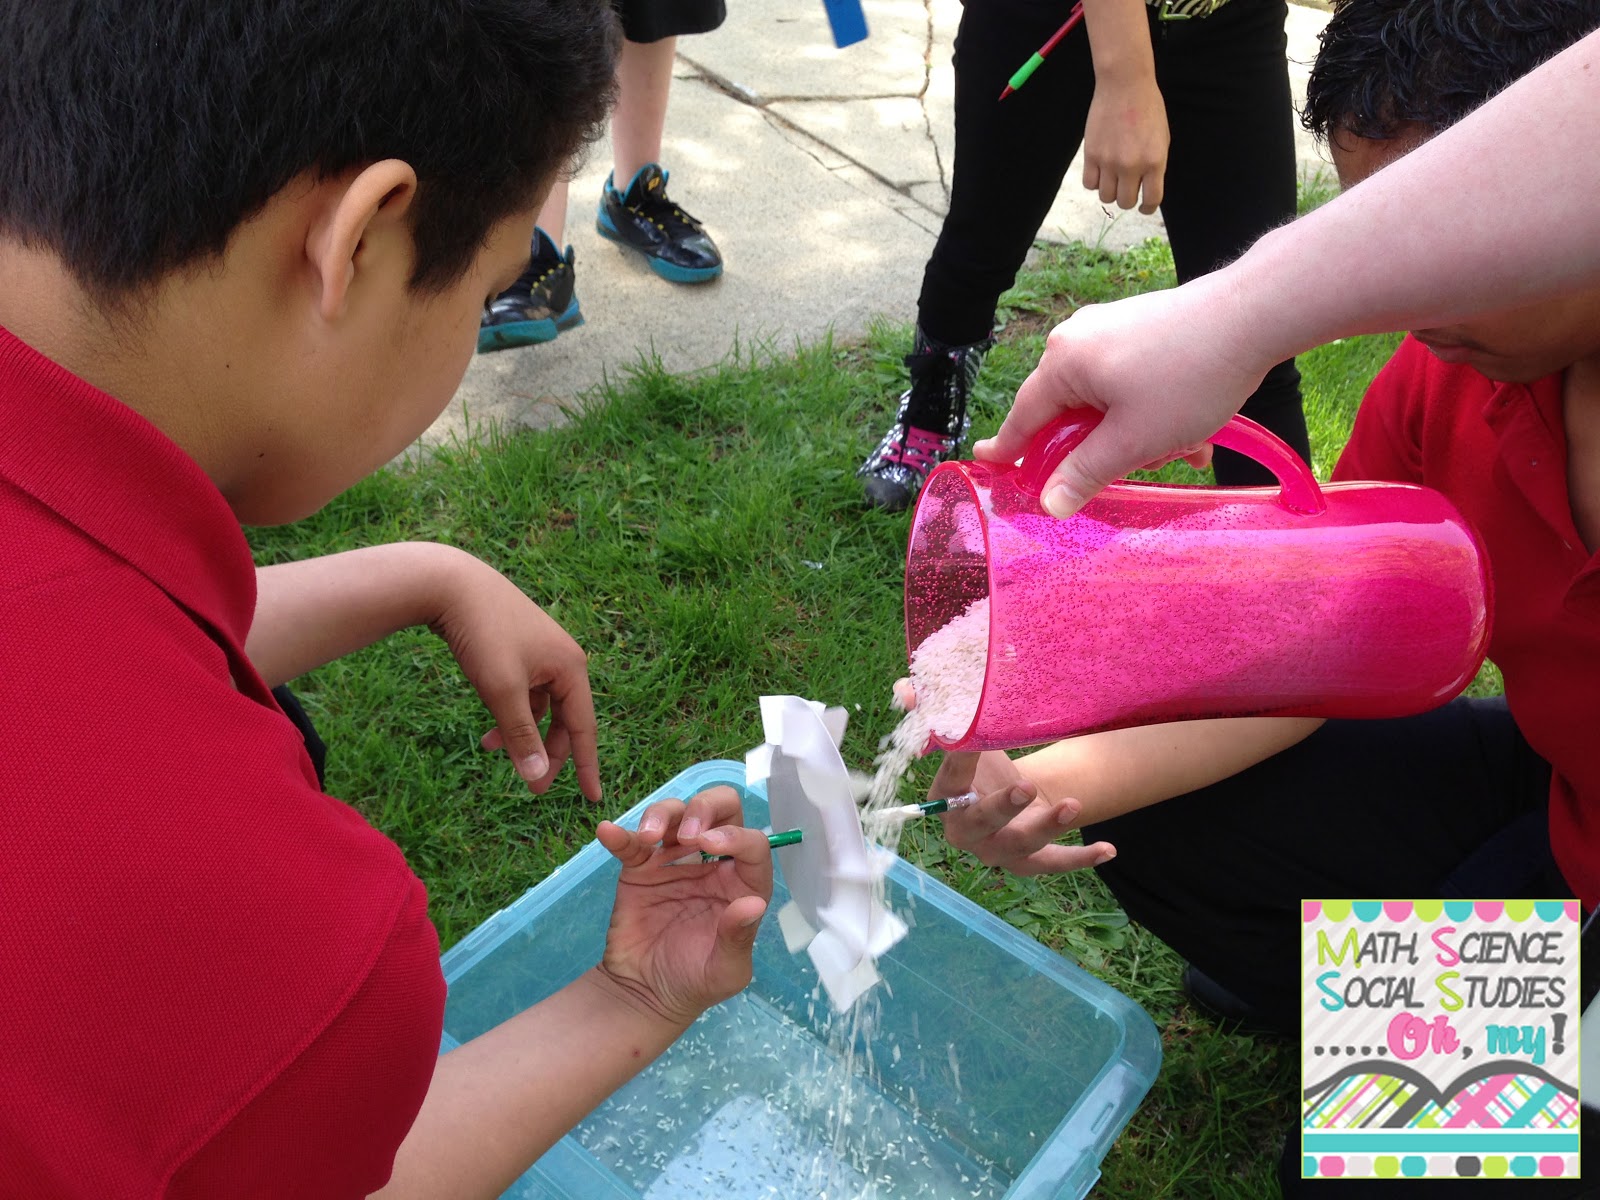
I don't have access to water outside, so we used rice instead. We also used sand when I did our training session with the other 6th grade teachers. Here are some pictures of us testing the water wheels.


No comments