Technically Speaking with Amy: science

Showing posts with label science. Show all posts

Using and Creating Matchbook Interactive Notebook Pages INB


When I first started making interactive notebook pages, I knew I didn't want them to be very complicated. After doing some online searching, I realized that the matchbook cover design would be the easiest for students to complete. They were easy to put together and took very little time.
0

Using Task Cards with Game Boards


When I was still teaching, I used task cards in my classroom ALL THE TIME. I would often pair the cards with a game board so that students could practice a skill that they needed remediation on or so students could review for a test. 
0

How I Used My Poster and INB Sets In My Classroom


I often get asked how I used my Poster and INB sets in my classroom. This post will take you through the process that I used with my 5th and 6th graders.

0

The Kinetic and Potential Energy of Roller Coasters


I saw THIS idea from my friend Jennifer at Teaching to Inspire in Fifth and fell in love with the idea. I knew that I wanted to do it with my 6th graders when we did our energy unit.
0

Separating Mixtures Lab


Both my 5th and 6th graders do a separating mixtures lab. This is the 6th grade lab that can be found in Matter and Change by Delta Science Modules.

0

Foldable Friday: The Planets

I haven't done very many foldables in science class, but I'm trying to do more.  My fifth graders were studying the planets and this 8 tab foldable was perfect for this.  We listed all the inner planets on the left side and the outer planets on the left.  


As a class, we talked about the important this about each planet. It was up to the student to decide what they were going to write in their notes.  The following are several examples of what the students cam up with.


3

How I Store My Student's Science Journals


My students have journals for math, science and social studies. They keep the math and SS journals with them, but I store the science journals in the classroom.  
5

Concept Mapping

I was introduced to concept mapping several years ago, but didn't really start using it my classroom until this school year.  When I was asked to be a science trainer for our district in 2011, the district wanted us to use concept mapping as a way to teach vocabulary. They wanted us to encourage our teachers to use concept mapping instead of your standard definitions to learn science vocabulary.

Since I had never used this type of mapping in my lessons, I spent quite a bit of time watching the other trainers working with the teachers and learning how to use them myself. Unfortunately, I don't think many of the other teachers in my building are using the maps, so my students don't see them until 5th grade.

This year I have tried to implement them fully into our science curriculum (I'm thinking about doing social studies next year). We start off the same each time.

After each science activity (we use the FOSS kits), the students come up with words to put on our word wall or word bank.  Each day we use a different color.

5th grade Human Body FOSS kit
After coming up with our words, we then put them on the concept map.  The hardest part for the students seems to be the wording that ties each of the words together.  I try not to lead them into what I think it should be, but to let them come up with how the words connect with each other. 

5th grade Human Body FOSS kit
Each day after we are satisfied with what we have done to the map, the students copy that part of the map into their science journals.

5th grade Food Webs and Chains FOSS kit

For more information on using concept maps in your classroom, I have listed a couple of resources:

This is an article from Stanford, Using Concept Maps in the Science Classroom, can give you a little more insight to mapping in your science class.

Science-West also has an interesting read:  Concept Mapping.

Do you use concept maps in your classroom?  We would love to hear about how you successfully implement it into your curriculum.

2

How I Display and Store My Standards Posters


I fell in LOVE with THIS pin last summer and just had to do it in my classroom. Since we have to display our standards, this was the perfect solution.  The black background is a sheet from Walmart that I cut up and taped to the filing cabinets.  The border is MagnaBorders from Learning Resources. I put magnets on the back of the posters and they work wonderfully!
5

Engineering Design: Water Wheels

The last quarter of science in Indiana is Science, Technology and Engineering. We start this quarter with a pretty simple engineering project:  creating a water wheel (we did the linked project in summer engineering camp but we modified it for the school year).  I begin the project by showing the students videos of water wheels (mill wheels) so that they have an idea of what they will be creating.

Next we start to go through the Engineering Design Plan.

Step one is stating the problem.  The students have to describe the problem that we want to solve.


Step two is the design criteria. What must the product be able to do? What limits do we have to wok within? (materials, size, time, etc) You can have some fun with this. You can give the students a budget and "charge" them for the materials. Budget = $1,000; 1 inch of tape = $50; 1 paper plate= $100


Step three is the brainstorming area.  What ideas do we have about ways to get the product to meet the Design Criteria?

This student had an unfair advantage with this project as she was in my 5/6 split last year and had already done the project once.....no one else's brainstorming ideas were as specific as these.
Step four is the designing. The students must draw their design and plan for building the prototype to scale.


Here are some pictures of the early stages of design.


Step five is testing, evaluating, and redesigning.  The students must test their design. What was tried? What was the result? Next the student evaluate their design. Does it meet one or more of the design criteria? Lastly, they need to redesign.  What changes could we make for a design that meets more of the criteria?


Step six is the design solution for the problem.


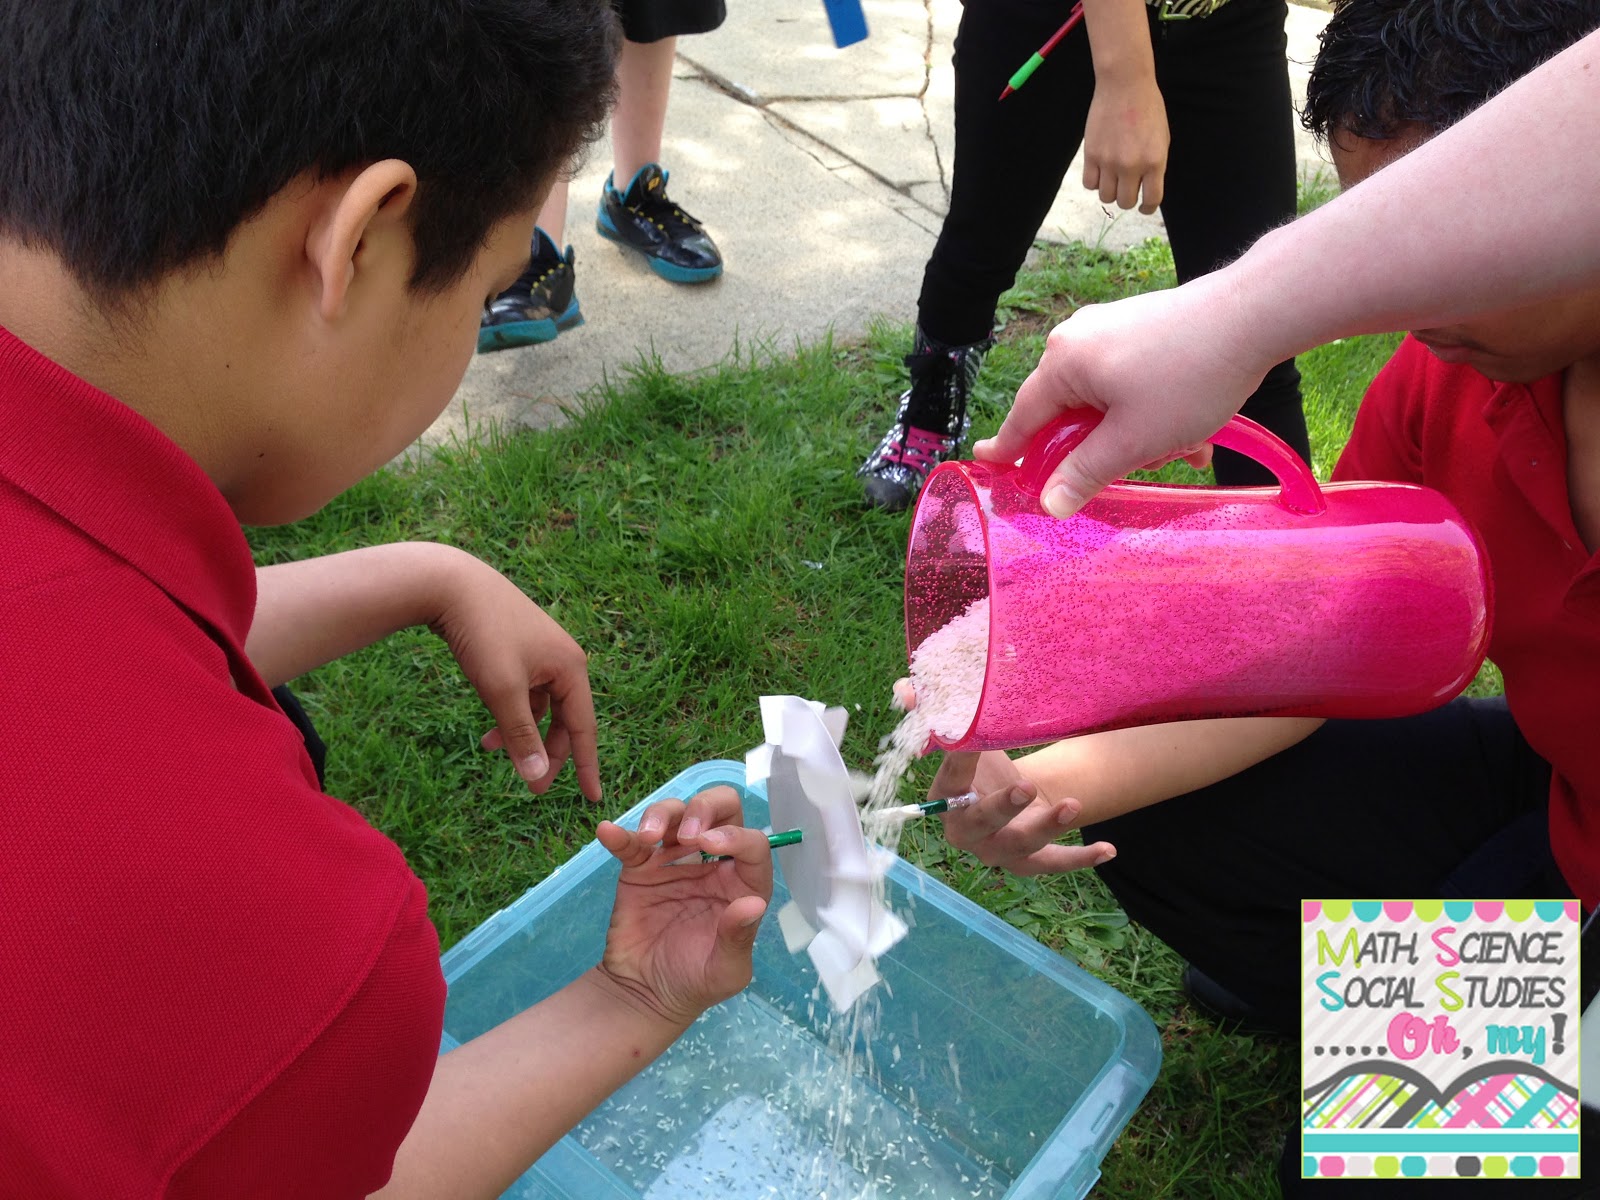
I don't have access to water outside, so we used rice instead. We also used sand when I did our training session with the other 6th grade teachers.  Here are some pictures of us testing the water wheels.


0

How to Set Up Your Science Interactive Notebook


As requested, I'm posting about my science notebooking. Last year our district adopted FOSS kits for our science curriculum.  FOSS has notebooking imbedded into their curriculum. We took what they had to offer and adapted it to the needs of our district.
4

Classroom Organization: Curriculum Binders


I had someone e-mail me about my binders and ask how I had them organized.  Since the picture of my binders has been pinned thousands of times I figured others might want to know how I organize them.

27

Planet Projects, Part 2

I apologize for taking so long to get back with this post (you can find part 1 HERE). The projects turned out really good! They had to present their projects as a group.  I purposely placed three very quiet students together to force them out of their shell and they did wonderful!!


0

Planet Projects, part 1


We are finishing up our FOSS Planetary Science unit.  The culminating activity has the students creating a posting advertising vacation spots on their planet.  The students have to include information about their planet but have to do it in a way that entices a person to come and visit.

The first place each of the groups wanted to look for information was the planet posters that I had posted.


You have find them in my TpT or TN store.

Complete with other topics
or just the planets themselves.

They also spent time looking up information on the Internet.


 Here are some of the projects just getting started.


I printed each group one sheet of pictures.  If they wanted more, they had to bring them in themselves.  

Stayed tuned for part 2 when I show you how the posters turned out.

4

Phases of the Moon

One of the big science standards for 5th and 6th grade is knowing how the phases of the moon occur.  I always bring in a lamp and have the kids stand in a big circle around the room.  I try to get it as dark as I can make it, to get the best effect.

The students all have styrofoam balls that they stick to the end of their pencil. Their head is the Earth and the styrofoam is the Moon.  As they rotate around in their spot the phases of the moon appear on the styrofoam.


New Moon
Full Moon

1st Quarter

How do you teach phases of the moon?  Share what has worked in your classroom.


2